Tuesday, February 11, 2014

Bookmark Valentines


I made these bookmark valentines for my English education cohort (sorry for the spoiler, cohort friends!).  They're cute, functional, and super simple to put together.

You will need:

  • Red paper
  • Heart shaped cookie cutter or stencil
  • Paper clips
  • Ribbon (I used purple, but any valentine-type color would be great!)
  • Scissors
  • Pencil
  • Pen

First, trace your cookie cutter onto your paper and cut out as many hearts as you need.

Next, write a little note to your valentine: "You've left a (book)mark on my heart!"

Tie a piece of ribbon to the end of a paper clip, and attach it to your heart.

If you want, use a gold sharpie to write your valentine's name on the back of the heart.

Are you making any valentines this year?

Saturday, February 8, 2014

Thursday, February 6, 2014

DIY Matchbox Valentines


Aren't these adorable?  I think they are great Valentines, but that they would be the cutest wedding favors! All you need is:

  • Glue stick
  • Scissors
  • Matchboxes
  • Valentine printable

Free printable PDF

It's my first free printable!  Pretty excited about that... Please let me know if you have any problems downloading or opening it!

Just print out this sheet, cut out along the lines, and glue it to the box!

If a little excess hangs over the edge, simply trim it off.

Ta da!  Totally doable, and super adorable! :)

Tuesday, February 4, 2014

February Book Club


Last month, I read Jackie After O.  It was very interesting to learn a lot of new things that I never knew about the Kennedys.

Also, this year I am trying to read an average of 1 book a week!  So, along with Jackie After O, I also read Park Lane by Frances Osborne, The Marriage Plot by Jeffery Eugenides, Living History by Hillary Rodham Clinton, and reread Romeo and Juliet.  I really recommend The Marriage Plot- probably my favorite of the bunch!

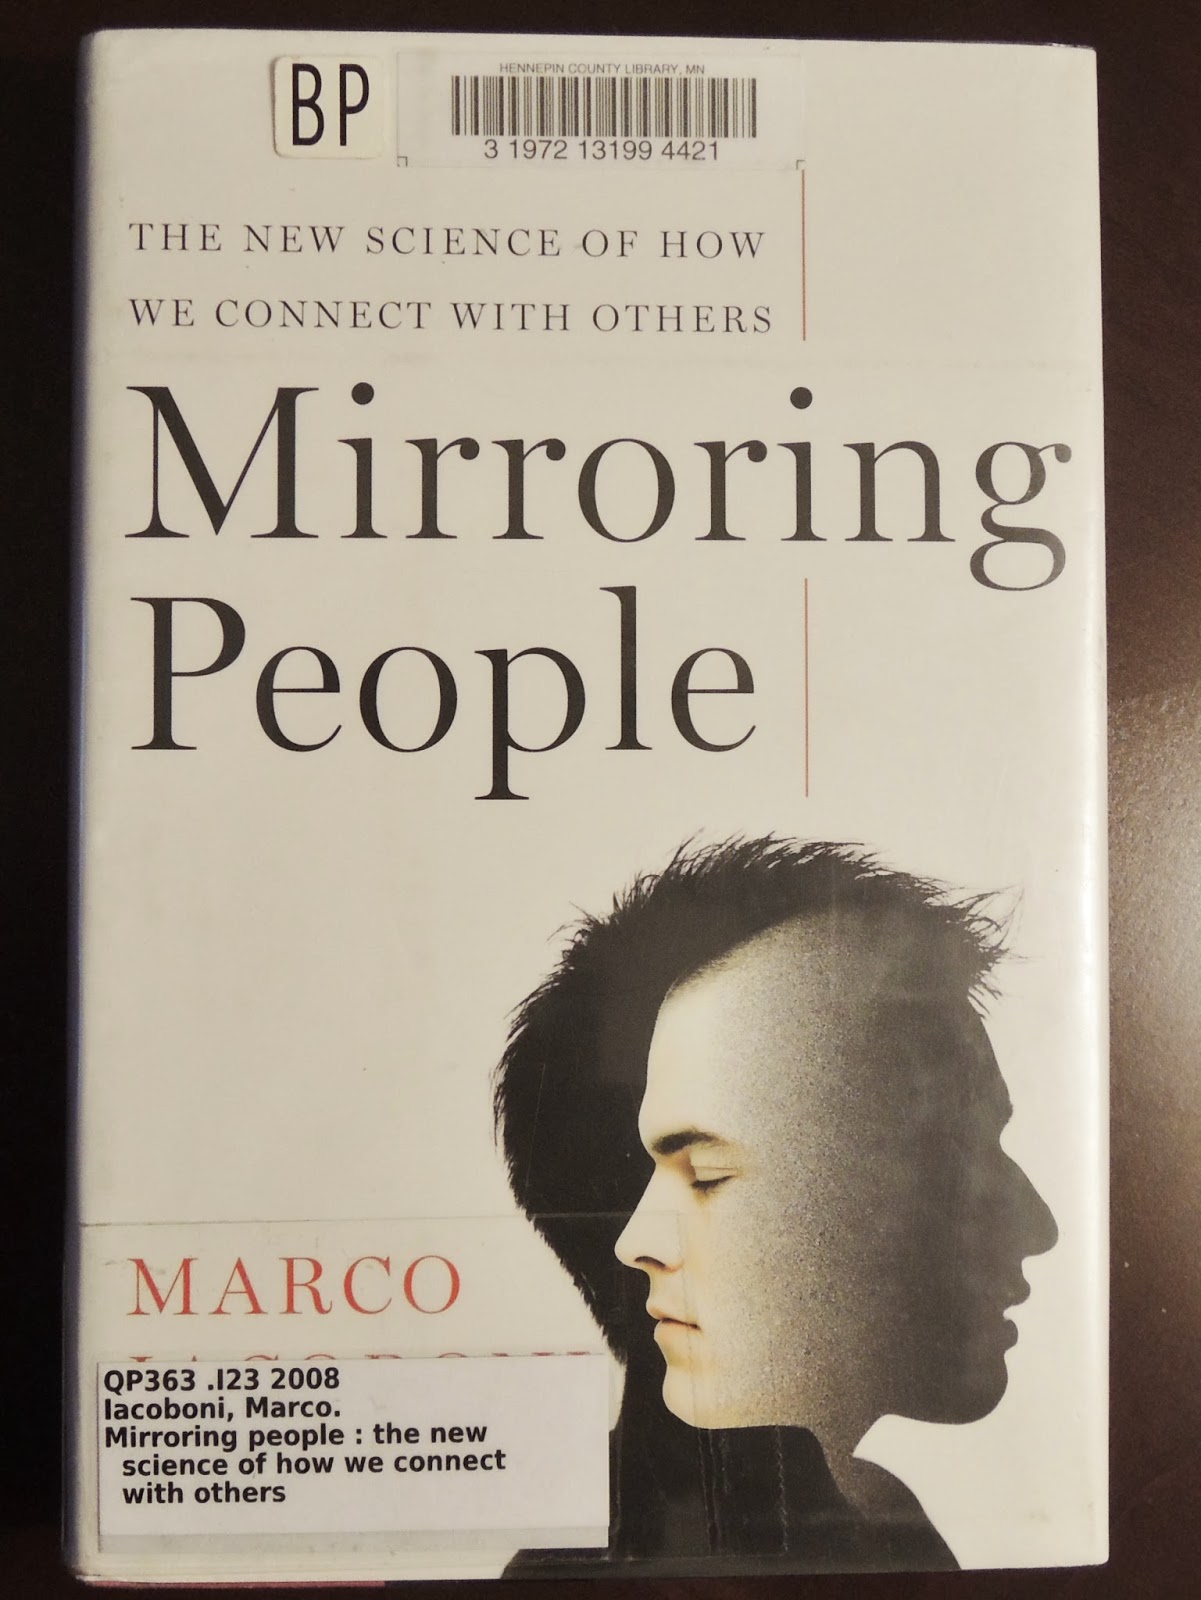
This month, because it's near Valentine's Day and I want to keep reading more nonfiction, I chose Mirroring People by Marco Iacoboni.  It's written by a neuroscientist who researched how the brain functions, specifically the mirror neurons that allow us to understand others.  It's very far out of my usual reads, so I'm really looking forward to reading this!

Saturday, February 1, 2014

Saturday Snapshot: Around the House

Orchid roots

It has been WAY too cold to be out and about taking pictures.  I mean, school cancellation cold (which is saying something in Minnesota!).  So, I took my camera around the house and snapped some pictures just to play around a bit.
Amethyst
Jewelry
Jewelry

 I hope you're all enjoying a nice and relaxing weekend!


Friday, January 31, 2014

Life Lately

1) Back to school = back to the books!
2) My new 'do made an appearance on Instagram
3) A snowy day at the dog park

I can't believe the first month of 2014 is almost over!!  This month, my classes started back up again.  I only have 8 weeks of class before I'm student teaching!  I'm so excited :)

But with these new commitments, I'm finding that I have less time to blog.  So, I've decided to cut back my blogging schedule to two weekday posts along with my Saturday Snapshot series.  Hopefully, this will give you higher quality content and give me a little extra time :)
1) Homemade snickerdoodles
2) Cookie and cocoa at Yum! Bakery
3) Cupcakes and chai at A Cupcake Social
4) Movie treats for a movie night in

Aside from the busier schedule, January was marked by lots of sweets and treats!  Also, I hit 100 likes on Facebook!  Some of you may remember my promise of a giveaway if I hit 100 likes, so stay tuned!  I'm going to put something together just for you :)

How did your first month of 2014 go?

Wednesday, January 29, 2014

DIY Faceted Stone Stud Earrings


I think I'm becoming a bit obsessed with gold, but these earrings are too cute to worry about that ;)

You will need:

  • Polymer clay (I used Sculpey)
  • Paring knife
  • Gold metallic spray paint
  • Earring findings
  • Super glue

First, you'll need to start with kneading your clay.  Once it is soft, form two balls that are a little larger than what you'd like your studs to be.

Either let the clay balls rest to firm up or put them in the freezer to speed along the process.

Next, use your paring knife to cut off a small, straight slice off each ball.  This will be the base that will attach to earring posts.

Then, continue to cut small slices off around the base.  This is mostly trial and error, but try to keep the two balls roughly the same size.  Don't worry about them matching or being perfect, though!

Once you're happy with how they look, bake the two balls according to the package directions.  I did mine for about 20 minutes at 275 degrees.

When they're done baking, let them cool.  Then, spray paint the earrings.

Let them dry, then use your super glue to attach the earring posts.

And you're done!

Related Posts Plugin for WordPress, Blogger...